How to draw a seamless repeating motif by hand
Wallpaper designers talk about the join: the moment a pattern stops being a drawing and becomes a surface. Get it right and the eye slides across the wall without finding an edge. Get it wrong and a faint grid appears across everything, however good the drawing was in isolation.
Drawing a seamless repeat by hand is not more difficult than doing it on a screen. It is just more physical. You work on one tile, copy the parts that fall off the edge onto the opposite side, test the join, then ink. Most of the craft lies in that order of operations.
A repeat is built from a single unit — the tile — which is repeated in a grid. For the seams to disappear, two rules must hold. Anything crossing an edge of the tile has to reappear in exactly the same position and shape on the opposite edge. Anything touching a corner has to appear in all four corners, in the mirrored position each one demands.
Everything else is taste. The tile can be crowded or sparse. The motif can be a stylised thistle, a geometric interlace or a scatter of dots. The edge rules are what make it a pattern rather than a picture.
Decide how the tiles will sit together before you draw a single petal, because the structure changes how you handle the edges.
For a first attempt, keep it simple: a straight repeat with a handful of motifs, one of which crosses an edge.
Cut a tile 10cm square; that is comfortable for a beginner and gives motifs enough room to breathe. Smaller tiles produce busier, tighter patterns, which is a legitimate choice but much less forgiving when the edges drift by a millimetre.
Now stand back. A few checks catch nearly every error.
Hold a small mirror upright along one edge of the tile. The reflection shows you exactly what the neighbouring tile will look like. Run it along all four edges and around the corners. Mismatched curves reveal themselves instantly — far faster than redrawing a grid of copies.
Copy the tile several times, cut the copies out and butt four or nine of them together with tape. Squint, then step back two metres. Look for two things: hard seams where a shape stops dead, and soft seams where motifs bunch up along the join and leave a dead band across the middle of each tile. Both mean moving a motif a centimetre or two, not starting again.
Ink the tile only once the joins are right. Test your pen first on scrap paper: a repeat lives or dies on consistent line weight, and a line that wobbles on the tile wobbles twelve times on the wall.
Work in a steady direction across the sheet, top to bottom, so your hand never drags through wet ink. Keep a card under your wrist. Give thick shapes their outline first and fill afterwards, letting each pass dry. When the ink is fully dry — not nearly dry — erase the pencil in one direction with a soft eraser, holding the paper flat.
If you are working in two colours, plan where the colours meet at the edges before you start. A shape that is green in the centre of the tile and blue when it crosses the edge will make the seam visible even when the drawing is flawless.
The method rewards repetition. Fill a few pages with tiles at 5cm square, one structure per page: a straight repeat of leaves, a half-drop of waves, a mirrored repeat of seeds. Photocopy the better ones, cut them up and pin the grids to a wall for a week. Patterns that look thin in the hand often settle into something quietly good on a larger scale, and the only way to find out which is which is to draw more of them than you need.
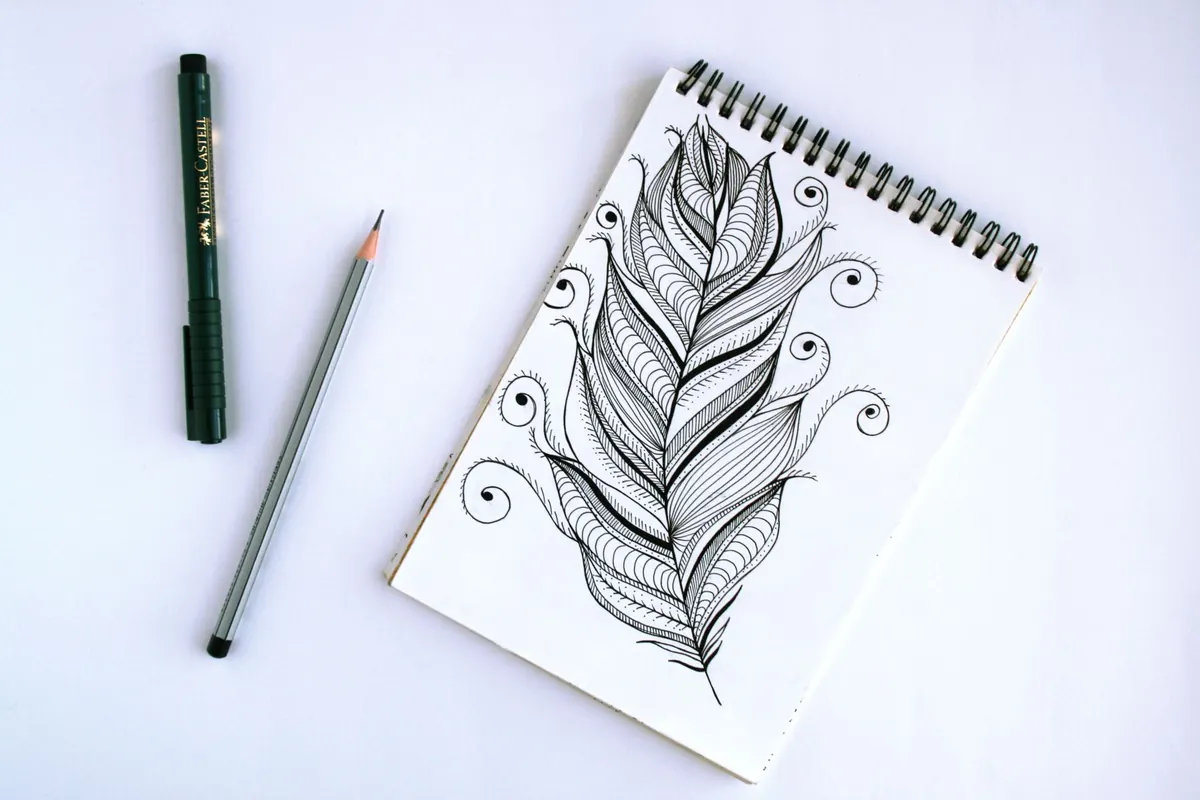
Photo: Alena Koval / Pexels
Previous Post
Celtic knot motifs in Britain: origins, meanings and where to see them
Next Post
Block-printed motifs: traditional Indian techniques vs modern British studio prints